How to Make Black Garlic in a Dehydrator? Fast & Easy Method
To make black garlic in a dehydrator, set the temperature between 158°F and 176°F. Use whole, uncured garlic bulbs and pack them in sealed canning jars to control humidity.
Dehydrate for about 3-4 weeks, checking regularly for moisture buildup. You’ll know it’s ready when the garlic turns black and develops a sweet, tangy flavor.
Store your black garlic properly to maintain its unique taste. There’s much more to explore about its uses and storage techniques.
Key Takeaways
- Choose whole, uncured hardneck garlic bulbs, such as Rocambole or Porcelain, for the best flavor and moisture content.
- Set the dehydrator temperature between 158°F (70°C) and 176°F (80°C) to prevent undesirable flavors during the process.
- Store unpeeled garlic bulbs in sealed canning jars and monitor for accumulated moisture weekly.
- After 3-4 weeks, check garlic color; it should turn black and develop a sweet, tangy flavor.
- Store finished black garlic in dark, cool places, using airtight containers or vacuum sealing to maintain freshness and prevent odors.
Setting Up Your Dehydrator
When you’re ready to make black garlic, the first step is setting up your dehydrator properly. Aim for a temperature between 158°F (70°C) and 176°F (80°C) for best results.
While higher temperatures can speed up the process, avoid exceeding 90°C to prevent undesirable flavors. Use a sealed canning jar to trap moisture, ensuring you maintain the natural humidity of the garlic bulbs.
If moisture accumulates in the jar, be sure to empty it. Maintaining humidity is crucial to the success of the black garlic aging process.
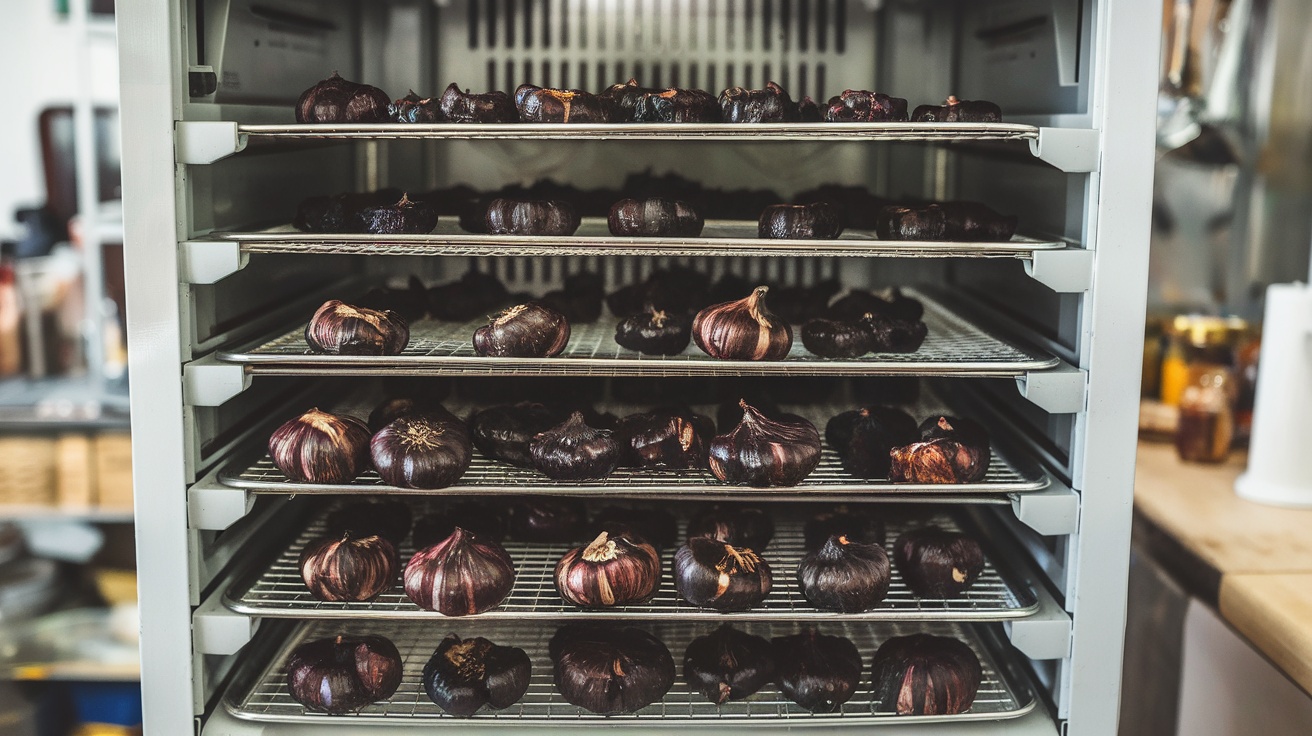
Choose a well-ventilated outdoor space for your dehydrator, especially if it’s compact; a 9-rack model is ideal. Monitor the garlic regularly, adjusting temperature as needed to achieve that perfect black color and deep flavor over a duration of 30 to 60 days.
Preparing the Garlic
To make black garlic, follow the steps below:
Selecting Garlic Varieties
Selecting the right garlic variety is essential for making high-quality black garlic, as the flavor and moisture content directly impact the final product.
For the best results, focus on hardneck varieties, which are known for their robust flavor and high moisture content.
Hardneck garlic is generally more flavorful than softneck varieties, making it a superior choice for this process.
Consider these options:
- Rocambole: Features a rich, spicy profile and easy-to-peel cloves.
- Porcelain: Offers a creamy texture with a strong, sweet flavor.
- Purple Stripe: Known for its unique color and complex taste.
- German Extra-Hardy: Renowned for its hardiness and depth of flavor.
Avoid softneck varieties if possible, as they’ll produce a milder flavor.
Wrapping Techniques
After choosing the right garlic variety, the next step involves preparing it for the curing process, where wrapping techniques play a significant role in achieving ideal results.
Start by sealing whole garlic heads in multiple layers of plastic wrap to prevent moisture escape. To maintain humidity, add damp hay or similar materials before wrapping.
For extra moisture retention, cover the plastic-wrapped garlic with aluminum foil. The curing process typically lasts several weeks, allowing for enzymatic reactions that enhance the flavor and texture of the garlic.
Place your wrapped garlic on the dehydrator’s bottom shelf and set it to maintain a temperature between 158°F and 176°F.
Monitor the garlic periodically for color changes, which typically become noticeable after 15-18 days.
The Dehydrating Process
To achieve the perfect black garlic, you’ll need to carefully set up your dehydrator and monitor the process closely.
Start by setting your dehydrator between 158°F and 176°F. Use whole, unpeeled garlic bulbs packed in smaller canning jars to maintain humidity, and keep it in a well-ventilated outdoor spot to contain the pungent smell.
Maintaining a constant temperature is essential for successful results, as properly dried mushrooms can also enhance your dehydrating experience.
- Seal jars loosely to trap moisture.
- Check weekly for standing water and progress.
- Use the top bulb as a test for color and texture.
- Maintain around 80% humidity to guarantee ideal flavor development.
After 3-4 weeks, your garlic will turn black and develop a sweet, tangy flavor.
Post-Processing and Storage
Post-processing and storage are essential steps in preserving the quality of your black garlic.
First, verify your black garlic has a moisture content between 400–500 g/kg for ideal softness. Black garlic exhibits extended shelf life due to its reduced water activity and increased Maillard reaction products.
Store whole bulbs in their natural paper casing at room temperature for up to a month, or peel and place them in airtight containers in the fridge.
For long-term storage, freeze peeled cloves in airtight containers for up to a year.
Always keep black garlic in dark, cool places to protect it from heat and light. Avoid high humidity by using well-ventilated areas.
Use resealable tubs for peeled garlic and consider vacuum sealing to retain moisture and prevent strong odors. Rotate bulbs as needed to maintain freshness.
Culinary Uses for Black Garlic
Once your black garlic is properly stored, it’s time to explore its culinary potential. This unique ingredient adds depth and richness to various dishes, making it a favorite among chefs and home cooks alike.
Here are some ways you can use black garlic:
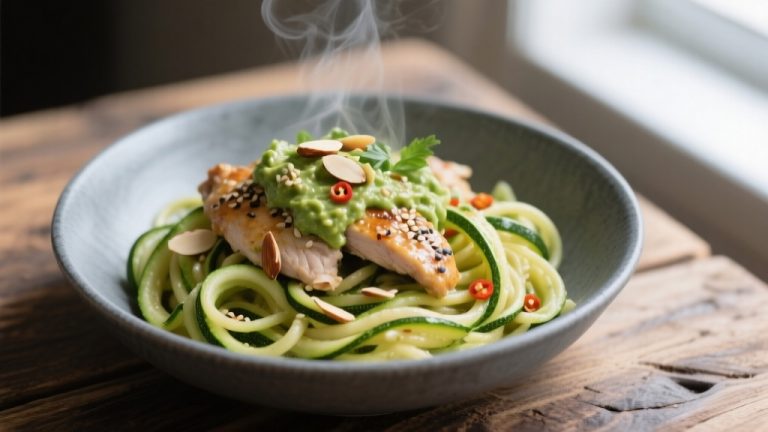
- Dips, sauces, and marinades: Enhance your creations with bold, umami flavors. Black garlic’s unique flavor makes it a versatile addition to any recipe.
- Meats: Elevate lamb, beef, chicken, and seafood with its rich taste.
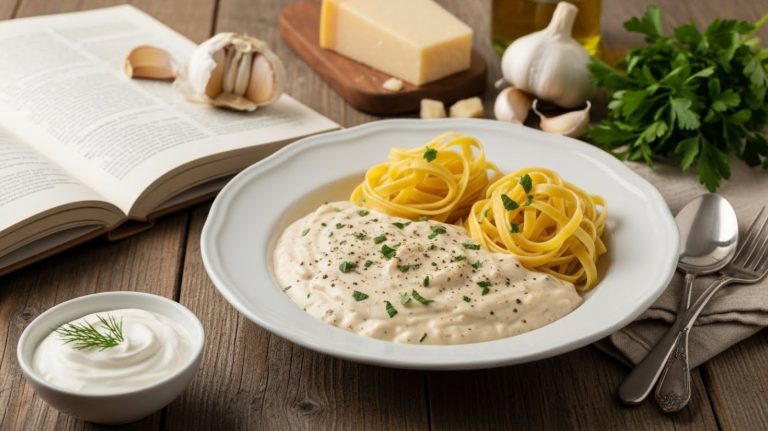
- Pasta: Stir chopped black garlic into sauces for complexity.
- Vegetables: Incorporate it into gratins for sophisticated flavor profiles.
Frequently Asked Questions
Can I Use Pre-Peeled Garlic for Making Black Garlic?
Sure, you can use pre-peeled garlic for making black garlic, but it’s like swimming in a pool with no water—you might end up with a disappointing result.
Without the protective skin, the garlic risks drying out too quickly, losing moisture and flavor. You’ll need to carefully control humidity and temperature to avoid these pitfalls. While it can yield higher antioxidants, the quality of your final product mightn’t meet expectations.
What Types of Garlic Are Best for Black Garlic?
When you’re choosing garlic for black garlic, opt for hardneck varieties like Porcelain, Rocambole, or Marbled Purple Stripe.
These types boast robust flavors and a good balance of pungency and sweetness. You’ll want garlic with fewer cloves and thicker skins, as these traits enhance flavor complexity.
Make certain the garlic is high-quality, disease-resistant, and suitable for your climate. This careful selection will lead to the best results in your black garlic creation.
How Can I Tell When Black Garlic Is Ready?
You can tell when black garlic is ready by checking its color and texture.
Look for a dark brown to black hue, which indicates the Maillard reaction has occurred. The outer skin should be turning tan or brown, and you should conduct weekly checks.
Designate a test bulb to examine individual cloves. Confirm there’s no standing water in your storage container, as that can lead to spoilage.
Is It Safe to Eat Black Garlic Raw?
If you’ve ever enjoyed a dish that featured black garlic, you might wonder whether it’s safe to eat raw.
Generally, it’s safe for most people, but caution is key. If you’re allergic to raw garlic, you should avoid it. Also, if you’re on blood thinners, consuming large amounts may increase bleeding risk.
Can I Reuse the Garlic After Making Black Garlic?
You can’t reuse the garlic after making black garlic. The transformation process alters its flavor and texture, making it a completely different product.
Once you’ve cured the garlic, it’s dense, chewy, and has a unique taste that can’t be reversed.
However, you can use the skins to season broths or make savory tea. Leftover black garlic can be stored and incorporated into various dishes, enhancing your recipes with its distinct flavor.
Experience the Flavor of Homemade Black Garlic with Ease
To sum up, making black garlic in a dehydrator is a simple yet rewarding process that enhances your culinary repertoire. With just a little patience and the right techniques, you can enjoy its rich flavor and health benefits at home.
So, why settle for store-bought when you can create your own? Remember to store it properly and experiment with its unique taste in various dishes. You’ll be amazed at how it elevates your cooking.