Changing Refrigerator Water Filter: Quick and Easy Steps
Changing your refrigerator water filter is essential for ensuring clean, safe drinking water. First, locate the filter compartment, usually at the top or bottom of your fridge.
Carefully remove the old filter by twisting or pressing tabs, depending on the model. Next, insert the new filter, ensuring it’s aligned correctly and securely locked in place.
Flush the new filter by dispensing at least two gallons of water to remove any air or sediment. Remember to replace it every six months or when you notice changes in taste or water flow.
You’ll discover more about maintenance and types of filters ahead.
Key Takeaways
- Locate the water filter compartment, usually at the top or back of the fridge, and consult the user manual for specific details.
- Remove the old filter using the appropriate mechanism: twist, squeeze tabs, or press the eject button, and catch any drips with a towel.
- Ensure the new filter is compatible, align it correctly, and press firmly into the housing before locking it in place.
- Flush the new filter by dispensing at least two gallons of water to eliminate air bubbles and any carbon fines.
- Change filters every six months or when you notice decreased water flow, unusual tastes, or a blinking change filter light.
Guide to Changing Different Types of Refrigerator Water Filters
To change different types of refrigerator water filters, follow these steps to ensure proper installation and maintenance:
Steps for Changing Twist-On Refrigerator Water Filters
Here’s how to change a twist-on water filter:
Locate the Filter Housing
Finding the filter housing for your refrigerator’s twist-on water filter is essential for a smooth replacement process. This filter is usually located in a convenient spot, making it easier for you to access when needed.
Proper maintenance of your refrigerator, including checking for optimal performance and keeping the condenser coils clean, can help prolong the life of your appliance.
- Top Corners: Look in the top right or left corner of your fridge. This is a common area for filter housing.
- Inside Drawers: Sometimes, the filter housing is tucked away in a drawer, ensuring it’s out of sight but still easily reachable.
- Manufacturer Resources: If you can’t find the filter housing, consult your refrigerator’s manual or visit the manufacturer’s website for specific guidance.
In some cases, the filter housing might be hidden behind a trim plate or decorative cover.
If it’s not immediately visible, search for a panel or grille that can be removed to access the filter.
Remove the Old Filter
Removing the old water filter is a straightforward process that guarantees your refrigerator continues to deliver clean and fresh water.
Before you begin, it’s wise to assess the surrounding area for any obstructions, just as you’d when moving a refrigerator out of a tight space.
Begin by preparing a towel or dishcloth underneath the filter housing to catch any drips or spills. Next, locate the old cartridge and grasp it firmly.
To release it, twist the filter housing counterclockwise by a quarter turn. This action should release the filter from its position.
Once the filter is loosened, pull the old cartridge straight out, taking care to avoid spilling any residual water.
If you encounter resistance or if there’s a button or tab, refer to your owner’s manual for specific instructions that may apply to your model.
After successfully removing the old filter, dispose of it appropriately. It’s crucial to make certain that no water leaks onto the floor during this process, so be attentive to any drips.
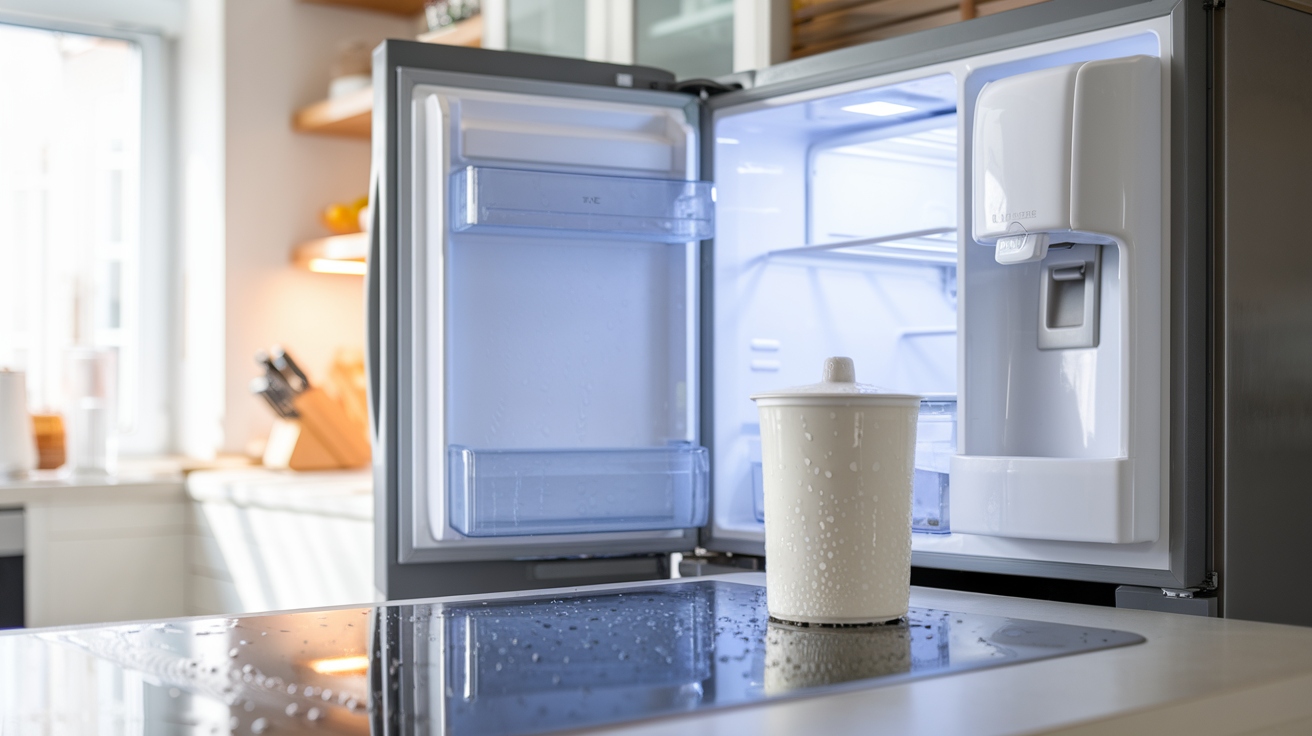
Install New Filter Correctly
Before starting the installation, it’s wise to check for any potential issues that could complicate the process, such as tight spaces or obstacles around the refrigerator, as discussed in how to move a refrigerator out of a tight space.
Follow these steps for a successful installation of your replacement cartridge:
- Locate the Filter Housing: Find the filter housing, typically situated in a drawer or at the back of the refrigerator.
- Install the New Filter: Push the new replacement cartridge straight into the housing. Turn it 1/4 turn clockwise to secure it in place. Make sure it’s properly seated and aligned to prevent leaks.
- Flush the Filter: After installation, dispense two gallons of water to eliminate any air bubbles or carbon fines. This step guarantees you’re drinking safe and clean water.
Steps for Changing Push-In Refrigerator Water Filters
You will need to follow these steps in order to change push-in filters:
Identifying Push-In Filters
Push-in filters are a common type of water filter found in many refrigerators, designed for easy replacement. Identifying these filters is essential for maintaining your refrigerator water filter system effectively.
Here’s how to recognize push-in filters:
- Spring Mechanism: Push-in filters typically have a spring mechanism. You can usually release the filter by pressing a button or the filter itself, allowing for a straightforward removal process.
- Cap Transfer: When you locate your filter, check for a cap on the old filter. It’s important to remove this cap and transfer it to your new filter before installation, ensuring a proper seal.
- Secure Fit: After inserting the new filter into the housing, push it until it locks securely in place. This step is critical to prevent leaks, which can lead to water damage or reduced filter efficiency.
Push-In Filters Installation Process Overview
After identifying the push-in water filter, you can proceed with the installation process.
First, if it’s time to change the filter, make certain to have a towel handy to catch any drips. Press the button or the filter itself to release the spring mechanism holding the old filter in place. Once the filter is free, carefully remove it from the housing.
Next, take the cap off the new filter and attach it securely. Insert the new filter into the housing, pushing it back until it clicks and locks into place. This guarantees a tight seal and proper functionality.
After installation, it’s essential to flush the new filter to ascertain it operates effectively. Dispense at least two gallons of water through the new filter.
Changing Other Types of Refrigerator Water Filters
When tackling the task of changing other types of filters in your refrigerator, it’s vital to recognize that these filters may be located in hard-to-reach areas, often requiring tools and skills beyond a standard replacement.
You might need to pull the refrigerator out from the wall and unplug it for safety. Always consult the owner’s manual for specific instructions on disconnecting the filter from the water line and removing any fittings that may be present.
Once you’ve accessed the filter, carefully remove the old one. Make sure to flush the filter to eliminate any debris or contaminants before installing the new one.
Connect the new filter securely into the fittings, making sure there are no leaks. Double-check that your connections are tight and properly sealed to prevent water damage.
After installation, it’s important to test the water flow to confirm everything is functioning correctly. Check for any leaks during this process.
Once you’re confident that there are no issues, return the refrigerator to its original position and plug it back in.
When to Change a Refrigerator Water Filter?
Regularly changing your refrigerator water filter is essential for maintaining water quality and system efficiency.
To ensure you’re replacing the filter at the right time, keep an eye out for specific indicators. It’s generally recommended to change the refrigerator water filter every six months, but you should also watch for these signs:
- Flashing Alert: If you have a smart refrigerator, a flashing light may indicate that it’s time to replace the filter.
- Taste or Smell Changes: Any noticeable changes in the taste or smell of your water or ice can signal that the filter is no longer effective and needs replacing.
- Decreased Water Flow: A significant drop in water flow from the dispenser often means the filter is clogged and should be changed.
Frequently Asked Questions
How Much Water Do I Need to Flush Through a New Refrigerator Filter?
You need to flush at least two gallons of water through a new filter. This process removes air bubbles and carbon fines, ensuring ideal performance and safe drinking water. Always follow the manufacturer’s instructions for best results.
Do I Need to Shut off the Water to Change the Water Filter in Fridge?
You should shut off the water supply before changing the water filter. This prevents leaks and spills. Always locate the shut-off valve, and consult your refrigerator’s owner’s manual for specific instructions regarding your model.
How Do I Change the Water Filter in a Refrigerator?
Did you know that changing your refrigerator’s water filter every six months can reduce contaminants by up to 99%? To change it, locate, remove the old filter, insert the new one, and flush with water.
Can You Drink Water From Fridge if It Says Replace Filter?
You shouldn’t drink water from your fridge if it indicates to replace the filter. Doing so can expose you to contaminants, bacteria, and poor taste, compromising your health and safety. Always prioritize clean drinking water.
Clean Your Refrigerator’s Water Filter and Enjoy Pure, Refreshing Hydration
By regularly changing your refrigerator water filter, you guarantee crisp, clean water flows from your dispenser, shimmering like fresh mountain streams.
You’re not just enhancing taste; you’re safeguarding your family’s health. With each filter change, you’re removing impurities and guaranteeing every sip is invigorating.
So, don’t overlook this simple task. Embrace the routine, and enjoy the clear, pure water that fills your glass, an essential resource for your home and well-being.