Chocolate Chip Cookie Recipe in Mason Jar: Homemade Treat
Creating a chocolate chip cookie mix in a mason jar is a delightful and convenient way to share homemade treats. Layer your key dry ingredients like flour, sugars, and chocolate chips for a visually stunning gift.
Tightly packed layers guarantee freshness for up to six months. Just add wet ingredients and bake! This thoughtful gift idea is perfect for any occasion, and there’s so much more to explore on customizing your mix and decorating your jar beautifully.
Key Takeaways
- Layer essential dry ingredients such as flour, baking soda, sugars, and chocolate chips in a sterilized mason jar for a visually appealing mix.
- Customize your cookie mix by adding nuts, oats, or dried fruits for extra flavor and texture.
- Include a tag with baking instructions: mix with softened butter, eggs, and vanilla, then bake at 350-375°F for 10-15 minutes.
- Seal the jar tightly and store in a cool, dry place for up to six months for maximum freshness.
- Decorate the jar with ribbons or seasonal themes, and attach a label for a personalized gift.
The Appeal of Cookie Mix in a Jar
When you think about the perfect gift for a friend or loved one, cookie mix in a jar stands out as a delightful and thoughtful option.
Its convenience makes it easy to transport and present, while the visually appealing layers of ingredients add a touch of charm. You can customize the mix by adding different nuts or candies, making each jar unique.
Plus, with a shelf life of up to six months, you don’t have to rush to bake right away. This gluten-free cookie mix is not only healthier but also perfect for gifting during holidays or special occasions.
Whether it’s for a birthday, holiday, or just because, cookie mix in a jar is a versatile gift that’s sure to delight. It’s a fun DIY project that leaves a lasting impression and inspires creativity in the kitchen.
Essential Ingredients for Your Cookie Mix
To create the perfect cookie mix, you’ll want to start with key dry ingredients like all-purpose flour and baking soda, which give your cookies that ideal texture. Don’t forget about sugars; using a blend of brown and granulated sugar will elevate the flavor and moisture.
Additionally, remember that accurate measurements are crucial for achieving the desired texture in your cookies. And if you’re feeling adventurous, customization options like nuts or oats can add a delightful twist to your cookie masterpiece!
Key Dry Ingredients
Creating the perfect chocolate chip cookie starts with understanding the key dry ingredients that form the foundation of your cookie mix. These essential components not only bring flavor but also texture and structure to your cookies.
Here’s what you need:
- Flour: Provides the necessary structure and texture.
- Sugar and Brown Sugar: Add sweetness and softness.
- Baking Soda: Acts as a leavening agent for that perfect rise.
- Salt: Balances sweetness and enhances all the flavors.
- Chocolate Chips: Semi-sweet or milk chocolate offers delightful flavor and texture.
Additionally, you can prepare the cookie mix in advance and store it for months, making it a convenient option for quick baking.
Customization Options Available
While whipping up a batch of chocolate chip cookies, you can easily transform the classic recipe into something uniquely yours by exploring various customization options.
Start by choosing your favorite chocolate—semi-sweet, dark, or even caramel-filled chips can elevate your cookies. Want a crunch? Toss in chopped nuts or coconut flakes for texture. For a warm flavor kick, add spices like cinnamon or espresso powder.
Consider incorporating dried fruits or oats for a twist, and if you’re feeling adventurous, mix in candy pieces. You can also use Cookie Mix – Chocolate Chip from Gilster Mary Lee to simplify the preparation process.
If you need allergen-friendly options, swap traditional ingredients with gluten-free flours, dairy-free substitutes, or egg replacements. Don’t forget to adjust sweetness with different sugars or natural sweeteners to achieve your perfect cookie balance!
Layering Techniques for a Beautiful Presentation
When it comes to layering your cookie mix in a jar, the order of ingredients plays a vital role in both taste and visual appeal.
By strategically stacking colorful and textured layers, you’ll create an eye-catching presentation that makes your gift stand out. Mason jar layered cake can serve as an inspiration for your layering techniques, showcasing how different components can complement each other beautifully.
Let’s explore some effective strategies to elevate your cookie mix presentation:
Layering Order Importance
The order in which you layer your ingredients plays a crucial role in both the visual appeal and functionality of your cookie mix jar. A thoughtful layering process not only enhances the jar’s beauty but also makes baking easier for the recipient.
- Aesthetic impact: Well-placed layers create a stunning gift.
- Ingredient organization: Clarity in layering streamlines baking instructions.
- Easier baking: Recipients know the order to combine ingredients. Having cookie mix ready in the pantry allows for quick preparation when needed.
- Reducing mess: Tightly packed layers minimize spills during transport.
- Customization flexibility: Add fun mix-ins on top for a personal touch.
Visual Appeal Strategies
Creating a beautifully layered cookie mix jar not only elevates the gift’s aesthetic but also enhances the overall baking experience.
To achieve that visual appeal, focus on color variety, contrasting textures, and even layer heights. Use transparent jars to showcase your hard work, and don’t forget to add festive ribbons for that finishing touch.
Additionally, the use of mason jars allows for a creative presentation that makes the dessert even more enticing. Choosing the right sizes and capacities of mason jars can also enhance the visual appeal of your layered mix by allowing you to create the perfect proportions.
| Layer Type | Color Example | Texture Example |
|---|---|---|
| Dry Ingredients | Flour (white) | Brown Sugar (granular) |
| Chocolate Elements | Chocolate Chips (brown) | Nuts (chunky) |
| Decorative Layers | Sprinkles (colorful) | Coconut Flakes (shredded) |
| Top Layer | Sea Salt (white) | Optional Garnish (ribbon) |
These strategies will make your cookie mix jar a delightful treat to behold!
Step-by-Step Baking Instructions
Baking delicious chocolate chip cookies can be a delightful experience, and following these step-by-step instructions will guide you through the process effortlessly.
Start by preparing your ingredients; layer the dry components in your mason jar using a funnel for neatness. Remember to press each layer down firmly for a polished look.
- Preheat your oven to 350-375°F.
- Cream together softened butter, eggs, and vanilla extract.
- Mix the contents of the jar into the wet ingredients.
- Scoop the dough onto parchment-lined baking sheets.
- Bake for 10-15 minutes until edges are golden.
Using a 1-liter jar not only keeps the ingredients fresh but also makes for a visually appealing gift. Let your cookies cool on a wire rack, and enjoy them warm or at room temperature.
Storage Tips and Shelf Life Considerations
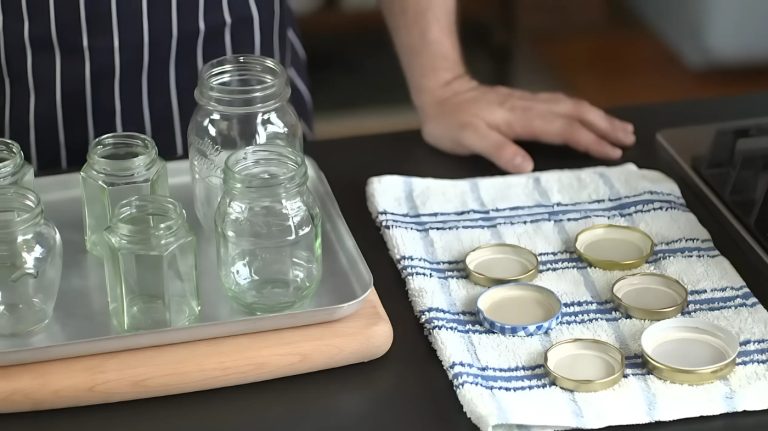
To keep your chocolate chip cookie mix fresh and delicious, it’s vital to store it properly. Use sterilized mason jars for their airtight seal, which prevents moisture and preserves flavor.
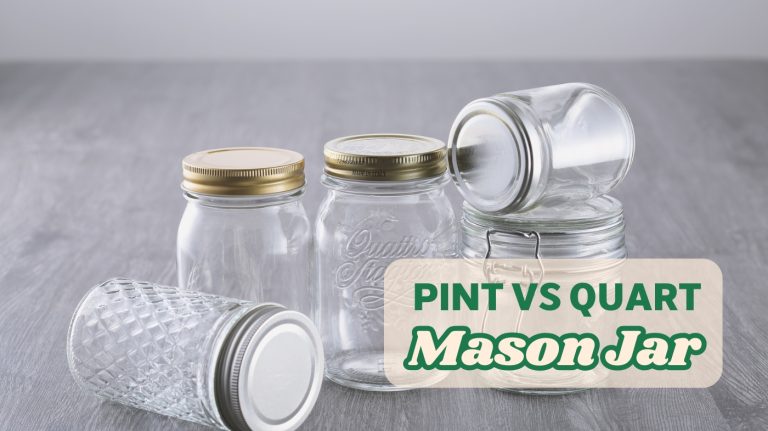
Glass jars are preferable over plastic, as they control temperature better and don’t absorb odors. Choose the right size either pint or quart based on your mix quantity.
For maximum freshness, consider vacuum-sealing your jars or adding oxygen absorbers to extend shelf life up to six months. Different foods require different levels of oxygen removal, so using the right size of oxygen absorber is crucial.
Store them in a cool, dry place to inhibit mold growth. Regularly check for spoilage by inspecting texture and smell. With these tips, your cookie mix will remain delightful until you’re ready to bake!
Creative Customizations and Variations
While classic chocolate chip cookies are always a hit, experimenting with creative customizations and variations can transform your baking experience into something truly special.
Here are some fun ways to elevate your cookie mix:
- Cinnamon Oatmeal: Add cinnamon and oats for a warm, hearty flavor.
- Nutty Twist: Include chopped nuts like almonds or walnuts for added texture.
- Dried Fruit Surprise: Mix in dried cranberries or cherries for a fruity twist.
- Espresso Boost: Add a teaspoon of espresso powder for a mocha flavor.
- Sea Salt Delight: Sprinkle a pinch of sea salt on top before baking.
Additionally, these customizations can make use of the cookie mix ingredients that are already prepared in the jar, making it even easier to bake delicious cookies. With these delightful tweaks, you’ll create cookies that not only taste amazing but also showcase your personal flair!
The Perfect Gift for Any Occasion
Creative customizations can make your chocolate chip cookies even more special, but if you’re looking for a unique way to share your baking passion, consider packaging your delicious creations in a mason jar.
These gifts aren’t only budget-friendly but also universally appreciated, making them perfect for birthdays, holidays, or even as teacher gifts. The layering technique is simple, and you can easily assemble the dry ingredients in the jar, ensuring meal prep efficiency that makes it easy for recipients to get started.
Recipients will love the personal touch you add with tags and decorations, and they’ll appreciate the reusable jar long after the cookies are gone. Oatmeal cookie mason jar gifts offer a heartfelt gesture that’s sure to delight anyone, creating memorable experiences while baking with family.
Whether it’s a wedding favor or a hostess gift, mason jar cookie mixes offer a heartfelt gesture that’s sure to delight anyone.
Decorating Your Mason Jar for a Personal Touch
Decorating your mason jar adds a personal touch that can elevate your gift from ordinary to extraordinary.
Here are some creative ways to enhance your jar:
- Mod Podge Application: Choose different finishes for a unique look. Using non-toxic paints ensures that your decorative touches are safe for gifts that may contain food.
- Ribbons and Twine: Wrap around the lid for an elegant finish.
- Seasonal Themes: Customize with designs that reflect the time of year.
- Printable Labels: Attach recipe tags for a thoughtful detail.
- Fairy Lights: Fill the jar with lights for a whimsical touch. Additionally, consider using Mod Podge formulas to create unique designs that enhance the overall aesthetic of your jar.
Frequently Asked Questions
Can I Use Whole Wheat Flour Instead of All-Purpose Flour?
Yes, you can use whole wheat flour instead of all-purpose flour, but be prepared for some changes. Whole wheat flour adds a nutty flavor and denser texture, which can affect your baked goods.
You’ll need to adjust the liquid in your recipe since whole wheat absorbs more moisture. Experimenting with ratios can help you find the perfect balance, blending it with all-purpose flour for a delightful mix of flavor and texture.
How Many Cookies Does One Jar Mix Yield?
The yield from one jar mix typically depends on its size and the cookie dimensions you choose. If you’re using a pint-sized jar, expect around 8-10 cookies. Quart-sized jars, more common for larger batches, can yield 18-24 cookies.
Keep in mind that smaller cookies mean you’ll get more from the mix. Adjusting ingredients also influences the size and ultimately how many delicious treats you’ll bake.
Can I Make the Mix Gluten-Free?
Absolutely, you can make the mix gluten-free! Start by using a gluten-free flour blend tailored for baking. Combine it with baking soda, baking powder, and salt for the essentials. Incorporate granulated and brown sugars for depth of flavor.
Don’t forget gluten-free chocolate chips and consider adding nuts or dried fruits for extra texture. Just make certain all ingredients are free from common allergens, and you’ll have a delightful gluten-free cookie mix ready to go!
Is It Necessary to Chill the Dough Before Baking?
When it comes to baking cookies, chilling the dough is the icing on the cake! It’s not just a nice-to-have; it’s essential for improving flavor and texture. Chilling lets the flour hydrate and the flavors develop, making your cookies thicker and chewier.
Plus, it reduces spread, leading to perfectly shaped treats. So, if you want cookies that are the best they can be, don’t skip the chilling step!
How Do I Adjust Baking Time for Different Oven Types?
When adjusting baking time for different oven types, you’ll want to take into account a few key factors. First, know that convection ovens cook faster due to hot air circulation, so reduce your baking time by up to 25% and lower the temperature by 20°C (50°F).
For electric or gas ovens, monitor your food closely, checking for color and texture. Remember, thicker items may need more time, while smaller ones can bake quicker.
Dressed to Impress – Creative Ways to Decorate Your Jar
In just one jar, you’re not only creating a delicious treat but also a fun experience for friends and family. Did you know that nearly 70% of Americans prefer homemade cookies over store-bought? By sharing your cookie mix in a mason jar, you’re spreading joy and warmth, one layer at a time.
So go ahead, whip up that mix, and watch as smiles bloom when they savor the homemade goodness you’ve crafted with love.