Crostata Dough Recipe: Simple Steps for Perfect Pastry
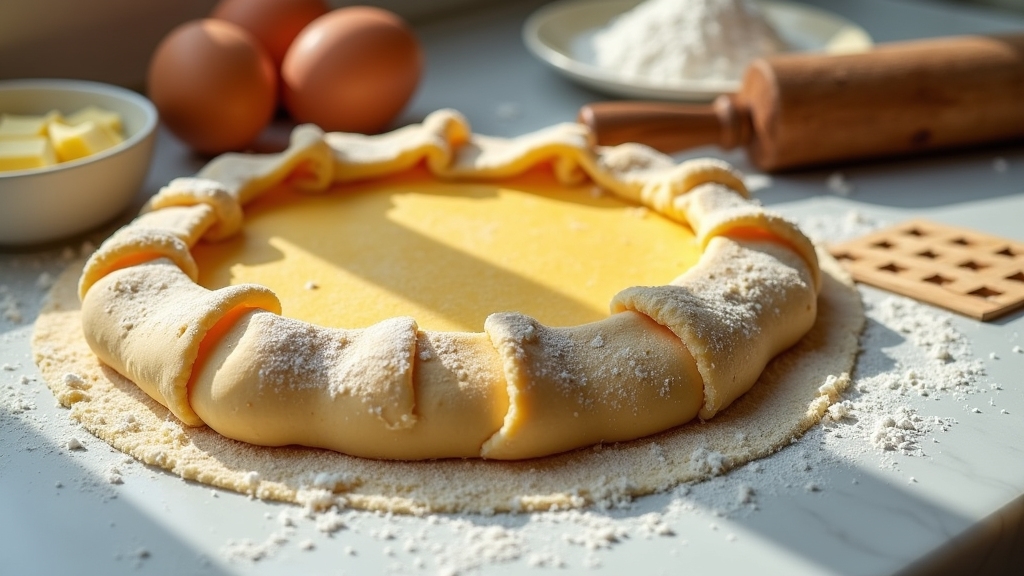
To make crostata dough, combine cold unsalted butter with all-purpose flour, sugar, a pinch of salt, and lemon zest for flavor. Cut in the butter until the mix is crumbly, then add eggs and mix gently to avoid toughness.
Chill the dough for at least an hour to relax gluten and firm the fat, ensuring a tender, flaky crust. Roll it out carefully without overworking. Keep going to explore precise techniques and variations for perfect results.
Key Takeaways
- Use cold, unsalted butter and all-purpose or “00” flour for a flaky, tender crostata dough base.
- Mix flour, sugar, salt, and lemon zest; cut in cold butter until sandy with pea-sized bits.
- Add eggs gradually, mix lightly, and knead gently to avoid gluten overdevelopment.
- Wrap dough in plastic, chill at least 1 hour to relax gluten and firm fats before rolling.
- Roll dough ⅛–¼ inch thick between parchment, rest 20–30 minutes, then bake at 350°F–450°F until golden.
Recipe Table at a Glance: Homemade Crostata Dough
| Ingredients / Tools | Steps / Actions |
|---|---|
| All-purpose flour (or “00” flour) | Create a well in the flour and mix in sugar, salt, and lemon zest. |
| Cold unsalted butter, cubed | Cut butter into flour until sandy with pea-sized bits. |
| Sugar (¼–½ cup) | Mix dry ingredients evenly for consistent dough structure. |
| Eggs (whole or yolks) | Add eggs gradually, mixing gently until dough forms. |
| Lemon zest (optional) | Avoid overmixing to maintain a flaky, tender pastry. |
| Salt + baking powder | Lightly knead 4–5 turns using fold-and-press motions. |
| Cornstarch (optional) | Shape dough into a disk, wrap tightly, and chill 1 hour. |
| Parchment or cling film | Roll dough between parchment to reduce sticking. |
| Rolling pin | Roll to ⅛–¼ inch thickness; chill again before baking. |
| Tart pan | Bake at 350°F–450°F until edges turn golden and filling bubbles. |
Essential Ingredients for Crostata Dough
Although all-purpose flour is the most common base for crostata dough, understanding your flour options can help you achieve the perfect texture.
Choosing the right flour is key to crafting a crostata with ideal texture and flavor.
You can lighten the dough by adding cornstarch, about 2 tablespoons per 1½ cups of flour, which enhances crumbliness.
If you want a finer, softer crumb, try Italian “00” flour or cake flour for a tender crust. For dietary needs, gluten-free flour blends work, though texture varies.
Use cold, unsalted butter, ideally European-style for richness, in quantities from ½ to ¾ cup to guarantee flakiness. Olive oil offers a softer texture and distinct flavor but requires no eggs.
Sugar, usually ¼ to ½ cup, sweetens and crisps the crust. Small amounts of baking powder and salt balance texture and flavor, while optional lemon zest or extracts add aromatic depth.
It is essential to keep all ingredients cold throughout mixing to ensure optimal pastry texture. Maintaining the right material durability in your baking tools can also impact the consistency and ease of dough preparation.
Step-by-Step Dough Preparation
Let’s kick things off by mixing all your dry ingredients really well. This is super important because it helps ensure that everything is evenly distributed.
Once that’s done, it’s time to cut in some cold fat. This step is key to getting that lovely crumbly texture we’re after.
Now, don’t go overboard with the kneading! Just work the dough enough to bring it together smoothly. You want to keep it tender, so a gentle touch is all you need here. Be sure to knead on a well-floured surface to prevent sticking and achieve a smooth dough. Using proper preparation techniques ensures the best texture and consistency.
Lastly, wrap that dough up nice and tight and pop it in the fridge for a bit. Chilling it helps relax the gluten and firms up the fat, which is exactly what you need for that perfect rolling consistency later on.
Ingredient Mixing Order
When preparing crostata dough, begin by placing the flour on your work surface or in a bowl, creating a well in the center to contain the wet ingredients and control hydration.
Start by mixing dry ingredients, sugar, baking powder, salt, and lemon zest into the flour evenly.
Next, add cold butter cut into cubes, working it into the flour until the mixture looks sandy with pea-sized bits of butter remaining.
Finally, introduce eggs, sometimes lightly beaten, and any additional liquid like ice water into the well, mixing quickly to bind without overhydrating. This dough is best made with cold, cubed butter to ensure a tender and crumbly texture.
Follow these steps:
- Combine and evenly distribute dry ingredients before adding fat.
- Work cold butter in until a crumbly texture forms.
- Incorporate eggs and liquids gradually to bring dough together.
Dough Kneading Tips
After mixing your ingredients just enough to bring the dough together, focus on kneading with care to preserve the crostata’s tender texture. Using gentle motions in kneading helps maintain the dough’s softness.
Knead gently using folding and pressing motions, limiting yourself to 4–5 turns to avoid overdeveloping gluten. Lightly flour your surface and hands to prevent sticking without drying the dough.
For doughs with higher hydration, allowing a brief resting period after mixing can help the flour fully hydrate, making the dough easier to handle and less sticky.
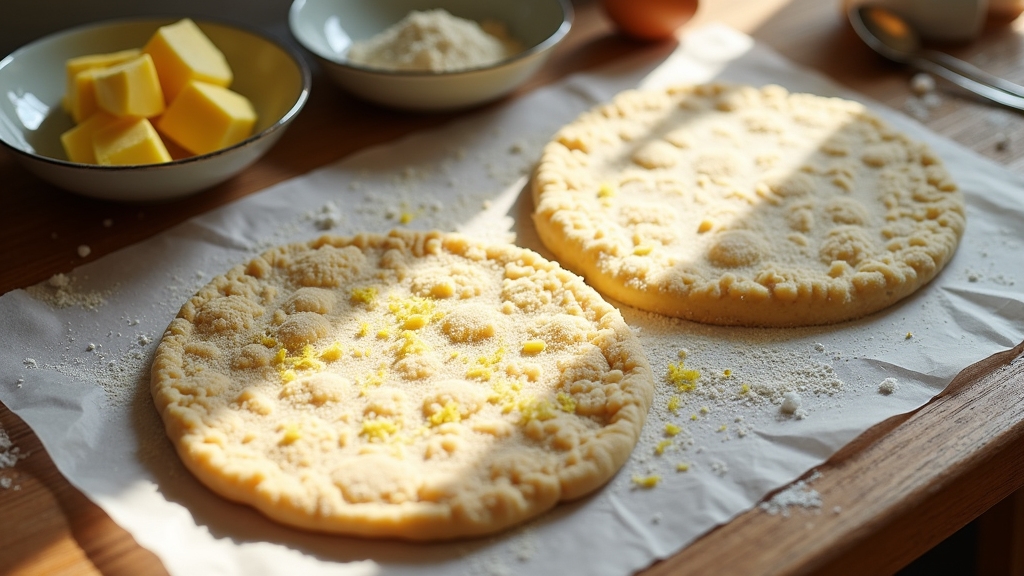
Avoid tearing by folding rather than pushing aggressively. Once kneaded, divide the dough gently into portions for shaping.
| Step | Action | Tip |
|---|---|---|
| 1 | Lightly flour surface | Prevents sticking without drying |
| 2 | Fold and press dough gently | Maintains tenderness |
| 3 | Limit kneading to 4–5 turns | Avoids toughness |
| 4 | Divide dough carefully | Prevents deflation |
| 5 | Shape into disks or logs | Minimal handling preserves texture |
Chilling and Resting
Although kneading sets the dough’s structure, chilling and resting are essential to perfecting its texture and handling.
Chilling solidifies butter chunks, creating flaky layers, while resting relaxes gluten, making the dough easier to roll and reducing shrinkage. Using pasta frolla dough, which is rich and smooth, helps achieve a tender and easily rollable pastry. It is important to avoid rushing these steps to ensure the dough develops the desired flaky texture.
To optimize your crostata dough, follow these steps:
- After mixing, form the dough into a disk, wrap tightly, and chill for at least 1 hour (up to 24 hours for flavor development).
- Roll out the chilled dough on a lightly floured surface, keeping it cold to prevent stickiness and tearing.
- After lining the tart pan, chill the dough again for 30 minutes before baking to maintain shape and texture.
Tips for Achieving the Perfect Texture
To achieve that perfect texture in your baked goods, start by keeping your butter cold. Cut it into small pieces; this helps create those flaky pockets in the dough that turn into a tender crust when baked. The choice of ingredients and their temperatures plays a crucial role in heat transfer during baking.
Now, here’s an important tip: avoid overworking the dough. Just mix it until everything comes together. If you overdo it, you might end up with a tough texture and your dough could shrink during baking. Resting the dough in the fridge for at least an hour is crucial as it relaxes gluten, making the dough easier to roll out and preventing shrinkage.
And if you notice that your dough has softened too much, don’t panic! Just pop it in the fridge for a bit to chill before you continue working with it.
Butter Temperature Impact
When you control butter temperature carefully, you guarantee crostata dough develops the ideal flaky texture. Butter that’s too cold can crack and tear the dough, while butter that’s too warm blends into flour, producing a dense crust.
Aim for cold butter around 2–4 °C (35–40 °F) to create distinct fat pockets that melt during baking, enhancing flakiness. This temperature helps maintain the plasticity of the butter, allowing it to hold shape and create layers effectively. Here’s how to manage it:
- Chill butter to 2–4 °C before cutting into flour to keep it firm but workable.
- Use a kitchen thermometer to monitor butter temperature precisely.
- If butter warms too much during mixing, briefly chill the dough before shaping.
Avoid Overworking Dough
Since overworking dough activates gluten excessively, you’ll end up with a tough, dense crust rather than the tender, flaky texture you want. To avoid this, handle your crostata dough minimally; mix ingredients just until combined and knead lightly if needed. Using equipment designed for precise results, like a cheese melter, helps maintain ideal textures in culinary preparations.
Roll the dough slowly and gently, using smooth strokes from the center outward instead of back and forth. Rest your dough wrapped in plastic in the refrigerator for 20–30 minutes before rolling; this relaxes gluten and solidifies fats. Insufficient resting time prevents gluten from relaxing properly, so allowing adequate rest is crucial for the ideal texture.
Roll between cling film sheets to limit added flour, which can toughen dough and reduce flavor. When transferring dough to your tin, be gentle to prevent stretching or tearing.
Variations in Dough Recipes
Although crostata dough follows a basic template of flour, fat, eggs, and sugar, you’ll find numerous variations that tailor texture, flavor, and handling to suit different preferences and recipes.
To customize your dough, consider these key adjustments:
- Fat Choices: Use butter for a rich, flaky crust or substitute part with olive oil for a denser, chewier texture and distinct flavor. For example, an apricot crostata uses olive oil and grappa in the crust to create a thinner and denser tart-like texture. Choosing the right fat affects the dough’s moisture retention and overall texture, similar to how wood and bamboo impact the qualities of cutting boards.
- Flour Blends: Incorporate fine cornmeal with all-purpose flour to add rustic crunch and alter dough elasticity.
- Flavor Enhancers: Add lemon zest for brightness, cinnamon for warmth, or omit sugar entirely for savory versions, incorporating herbs instead.
Baking Guidelines and Temperature Settings
Adjusting your crostata dough’s ingredients sets the stage, but mastering baking guidelines and temperature settings is what guarantees your crust bakes evenly and your filling reaches the perfect consistency.
Preheat your oven between 350°F and 450°F, depending on filling moisture. Jam-filled crostatas do best at 350°F, while rustic fruit ones thrive near 450°F. Position your rack in the oven’s bottom third to avoid underbaked bottoms and help maintain proper moisture levels.
Position your rack in the oven’s bottom third to avoid underbaked bottoms. If you have a pizza stone, preheat it at 400°F for improved crust texture.
Roll dough ⅛–¼ inch thick, chill it at least 30 minutes, then transfer on parchment to a baking sheet. For best results, chill dough for at least 1 hour before rolling out to maintain texture and prevent melting. Proper storage and handling can prevent issues like moisture exposure that might affect dough quality.
Bake for 20–35 minutes until edges turn golden and fruit bubbles. Tent with foil if browning too fast. Confirm fruit filling hits 200°F internally for safe, thickened results.
Storage and Freezing Recommendations
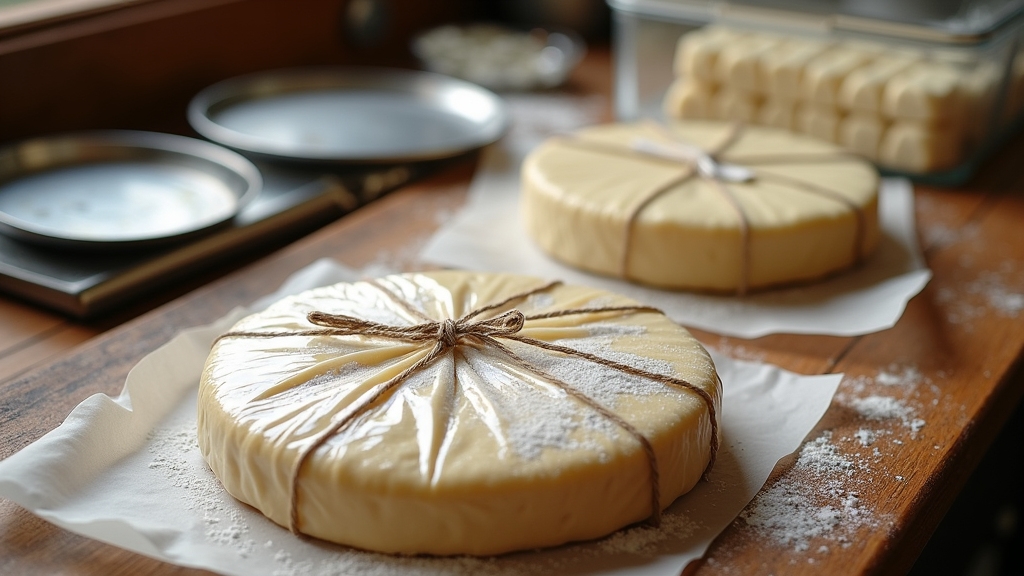
When storing crostata dough, wrap it tightly in plastic wrap to prevent drying and odor absorption. Refrigerate it for at least one hour, though chilling it for up to three days optimizes freshness and rolling ease. Keeping the dough cold is essential because cold butter ensures a flaky crust.
For longer storage, freeze the dough after shaping it into a disk and double-wrap with plastic and foil or a freezer bag. Label packages with the date to track freshness. Follow these steps for best results:
- Refrigerate wrapped dough for 1 to 3 days to improve workability and flavor.
- Freeze dough for up to 3 months, thawing gradually in the fridge before use.
- Store leftover baked crostata in airtight containers for 2-4 days refrigerated or freeze for up to 3 months.
Frequently Asked Questions
Can Crostata Dough Be Made Vegan Without Losing Texture?
Yes, you can make crostata dough vegan without sacrificing texture by substituting traditional butter with cold vegan butter and adding non-hydrogenated shortening or refined coconut oil for tenderness.
Incorporate fats properly by rubbing them into flour to create a crumbly texture. Use cold plant-based milk gradually to bind dough without overhydrating, and chill the dough before rolling.
This approach ensures a flaky, tender crust that holds shape and bakes to a golden crisp.
What Are the Best Fillings to Pair With Crostata Dough?
You’ll find mixed berries, like strawberries and blueberries, perfect for a sweet-tangy balance with crostata dough.
Classic jams, such as apricot, raspberry, or fig, offer vibrant, smooth fillings.
For a fresh twist, use sliced peaches or plums, thickened with a bit of cornstarch.
If you want indulgence, try ricotta or lemon custard.
Don’t forget savory options; caramelized onions or tomato mixtures add hearty depth for main courses or appetizers.
How Do I Fix Dough That Is Too Sticky or Too Dry?
If your dough feels like a sticky monster clinging to your fingers, don’t drown it in flour! Instead, wet your hands slightly and use a bench scraper to handle it.
For dry, crumbly dough that’s practically begging for hydration, sprinkle cold water gently and fold it in gradually. No overworking!
Chill either dough briefly to firm it up.
These precise fixes keep your dough manageable without ruining texture or toughness.
Is It Possible to Make Crostata Dough Gluten-Free?
Yes, you can definitely make crostata dough gluten-free. Use a gluten-free all-purpose flour blend or a homemade mix of brown rice, potato starch, and tapioca starch.
Add xanthan gum if your blend lacks it to improve elasticity. Keep butter and dairy cold, use ice water to bind the dough, and avoid overworking it.
Chill the dough before rolling to make it easier to handle and get that perfect flaky texture.
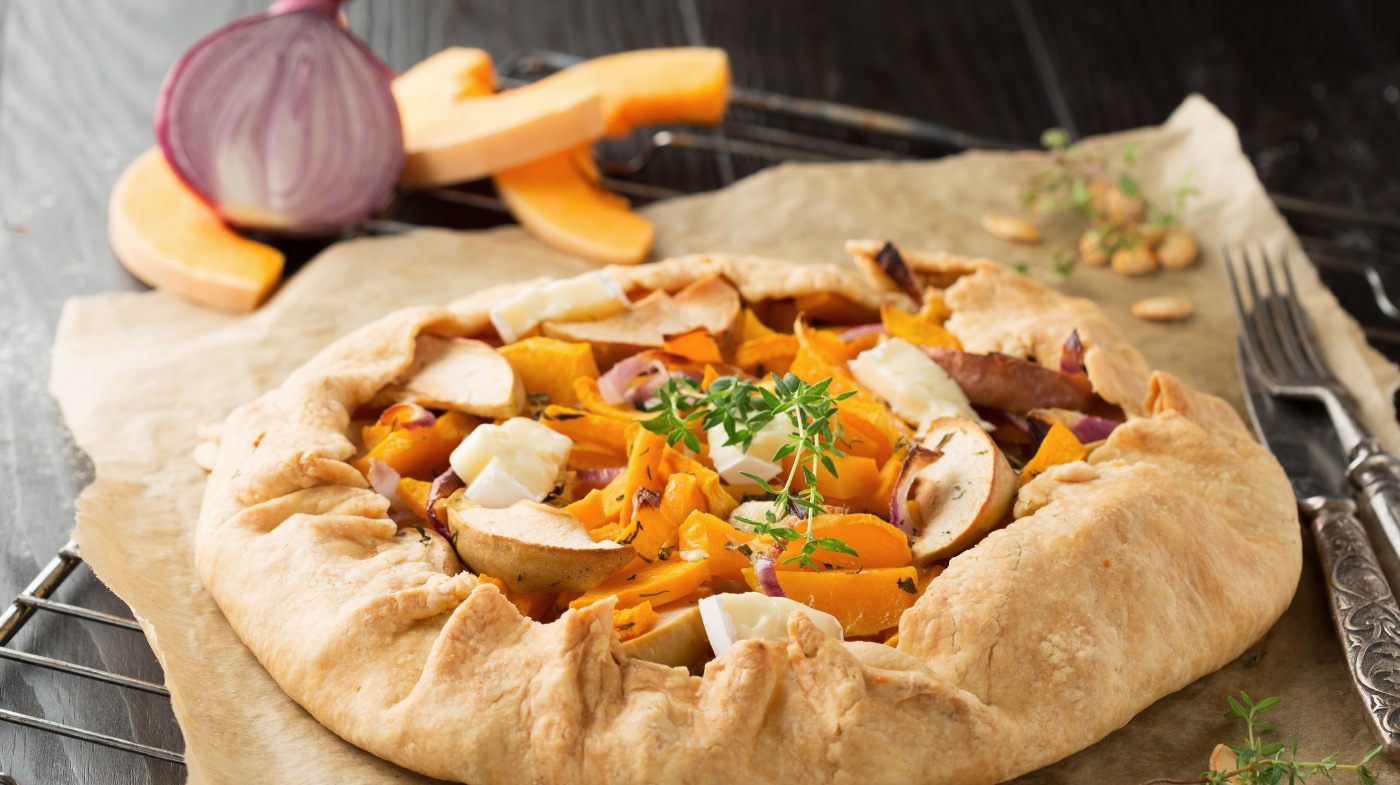
Can Crostata Dough Be Used for Savory Tarts?
Yes, you can definitely use crostata dough for savory tarts. Just reduce or skip sugar, add extra salt, pepper, and herbs to boost savory flavors.
Enhance texture by incorporating sour cream or cheese if you like. Roll it out, fill with veggies, meats, or cheeses, then fold edges rustic-style.
Brush with egg wash for a golden finish. This dough’s flaky, buttery texture perfectly balances rich, savory fillings, making your tart delicious and structurally sound.
Ready to Master More Crostata Dough Techniques?
Now that you’ve mastered crostata dough, baking it should feel as smooth as spreading butter on warm bread. Remember to handle the dough gently to keep it flaky and tender.
Follow the temperature guidelines closely for even baking, and don’t hesitate to try variations to suit your taste. Store or freeze any extra dough properly to preserve freshness. With these tips, you’ll consistently create crostatas that impress every time.