How to Set Vents on Dehydrator : DIY 9 Steps to Follow
The dehydration process is a great way to preserve foods for a long time. Dehydrators work by removing the water content from food, preventing bacteria and mold growth. But in order to dehydrate food properly, it’s important to set the vents on your dehydrator correctly.
Air vents are essential for dehydrators because they allow air to circulate. Without air circulation, the food will not dry evenly and could even spoil. Air vents help to prevent the build-up of condensation, which can lead to mold growth.
In this blog post, we’ll show you how to set vents on a dehydrator so that you can get the most out of this handy appliance. We’ll also provide some tips on how to troubleshoot common problems with dehydration. So if you’re ready to learn more about dehydration, read on.
How to Set Vents on the Dehydrator: Step-by-step Guide
Setting vents on the dehydrator is a very simple process that only requires a few minutes of your time.
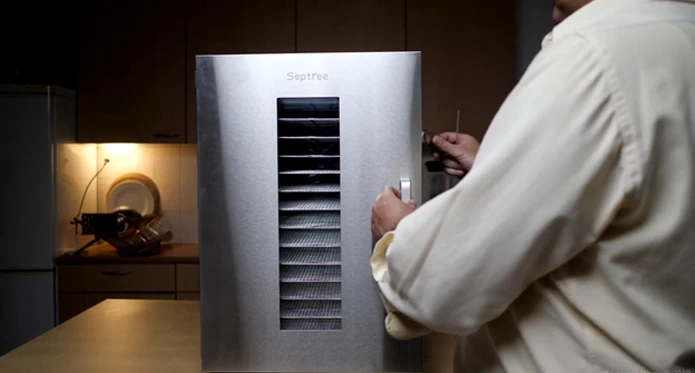
- Start by reading the manual that came with your dehydrator. Some models have vents on the top, bottom, or both. Others have a fan on one side, and the vents are located on the other side.
- In order to set the vents, you will need to locate the control knob on the dehydrator. The control knob is usually located on the front or side of the dehydrator.
- Once you have located the control knob, you will need to turn it to the “vent” setting. The exact location of the vent setting may vary depending on your particular model of the dehydrator.
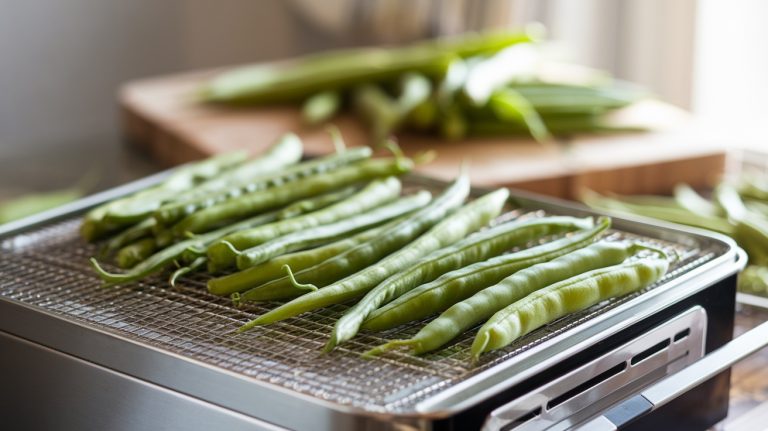
- Once you have found the vent setting, simply open the vents and allow the air to flow through. Locate the four vents on the dehydrator. Two of the vents can be found on the top of the dehydrator, and two are located on the bottom. Again it may vary depending on the make and model of the dehydrator.
- Set the dehydrator to the desired temperature. The temperature can be adjusted by turning the dial on the front of the dehydrator.
- Once you’ve set the vents to your desired setting, replace the lid and turn on the dehydrator. The switch is near the top of the unit, above the temperature dial.
- Check the vents periodically to ensure that they are still open. The vents should be opened or closed as needed to maintain the desired temperature inside the dehydrator. Use your fingers to open or close the vents, depending on how much airflow you want.
- Allow it to run for the recommended amount of time, then check on your food to see if it’s dehydrated to your liking.
- When you are finished using the dehydrator, be sure to close the vents so that the dehydrator does not overheat.
Do All Dehydrators Have Vents?
All dehydrators have vents. The purpose of the vents is to circulate the air around the food so that it dries evenly. Without vents, the air would not circulate, and the food would not dry properly. Some dehydrators have only one vent, while others have multiple vents.
The number of vents does not affect how well the dehydrator works, but it does affect how evenly the food dries. Dehydrators with multiple vents typically have fans that help to circulate the air, which can accelerate the drying process.
What Do the Vents on the Dehydrator Do?
Using the dehydrator’s vents helps to circulate air so that the food dries evenly. They also allow moisture to escape, which helps to prevent the food from becoming too dry or hard. Aside from that, the vents help to keep the dehydrator clean by allowing particles and other particles to be filtered out.
Also, The vents also help to prevent the formation of condensation, which can cause mold and mildew to grow on the food. Not to mention, they help to keep the temperature inside the dehydrator consistent, which is essential for dried foods. Without these vents, the dehydrator would be much less effective at drying food.
Types of Dehydrator Vents:
There are two types of dehydrator vents, front, and back. The front vent is great for herbs and spices, while the back vent is better for fruits and vegetables. Each type of dehydrator vent has its own unique benefits that make it ideal for dehydrating different foods.
Front Vent:
The front vent is located on the front of the dehydrator, near the door. This type of vent allows you to control the amount of airflow that enters the dehydrator. By controlling the airflow, you can control how quickly or slowly your food dries.
This is important because some foods, like herbs and spices, can become bitter if they are dried too quickly. The front vent also makes it easy to check on your food as it dries, so you can see how it is progressing and make sure that it is not drying too quickly or unevenly.
Back Vent:
The back vent is positioned behind the dehydrator, near the power cord. A vent like this allows hot air to exit the dehydrator, which helps to produce a faster drying time. The back vent also helps to prevent your food from overheating, which can cause it to lose nutrients and flavor.
When using the back vent, you will need to rotate your food frequently to ensure even drying. Overall, the back vent is a great option for those who want to dehydrate their food quickly and efficiently.
How Do You Use Ronco Dehydrator Vents?

The Ronco dehydrator vents are used to dry food. You can use them to dry fruits, vegetables, meats, and fish. These vents are also used to make jerky and fruit leathers.
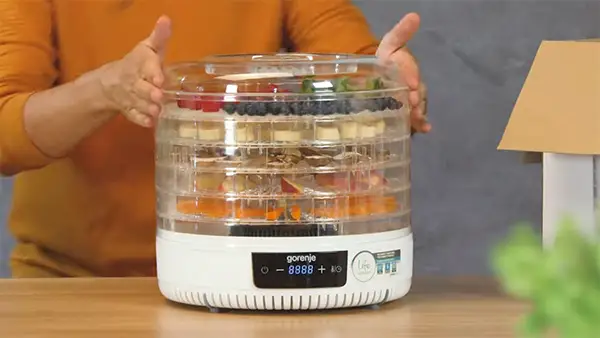
To use the Ronco dehydrator vents, you need to place the food on the trays and set the dehydrator to dehydrate. It will remove the moisture from the food and leave it dried. The dried food can be stored in an airtight container and will last for a long time.
Does Temperature of a Dehydrator Depend On Vents?
The temperature of a dehydrator does not depend on vents. Vents are used to regulate the amount of airflow and heat that goes into the dehydrator. The temperature of the dehydrator is controlled by a thermostat, which regulates the amount of heat that is generated by the dehydrator.
The thermostat is located in the control panel of the dehydrator and is adjustable. The higher the setting on the thermostat, the higher the temperature inside the dehydrator will be.
If you are drying foods that require a higher temperature, you will need to adjust the thermostat accordingly. If you are drying foods that do not require a high temperature, you can leave the thermostat at its default setting.
Dehydrator Vents: Should They Be Opened Or Closed?
The answer to the question of whether the dehydrator vent should be kept open or closed depends on a number of factors, including the type of dehydrator, the amount of ventilation in the kitchen, and the desired level of humidity.
In general, it is best to keep the vent open when using a dehydrator. This allows air to circulate around the food, which helps to evenly distribute heat and prevents the formation of hot spots. Aside from that, opening the vent helps to reduce moisture levels inside the dehydrator, which can prevent spoilage and reduce drying times.
Of course, there are also some situations in which it may be necessary to close the vent, such as when cooking delicate items or when working in a very humid environment. Ultimately, it is up to the individual cook to experiment and determine what works best in their particular situation.
So, Let’s Set Vents and Put Your Dehydrator to Use
After reading this blog post, you should have a better understanding of how to set vents on the dehydrator. The most important thing to remember is that the vents should be set so that the air can flow freely through the dehydrator. If the vents are blocked, the air will not be able to circulate properly, and the food will not dehydrate evenly.
Another important tip is to make sure that the vents are not set too high or too low. Vents that are too high, the food will dry out too quickly and will become hard and brittle. If the vents are too low, the food will take longer to dehydrate and will not be as crisp. By following these tips, you can ensure that your food dehydrates evenly and completely.
Topics that Interest You: